
Makes Perfect Sense….
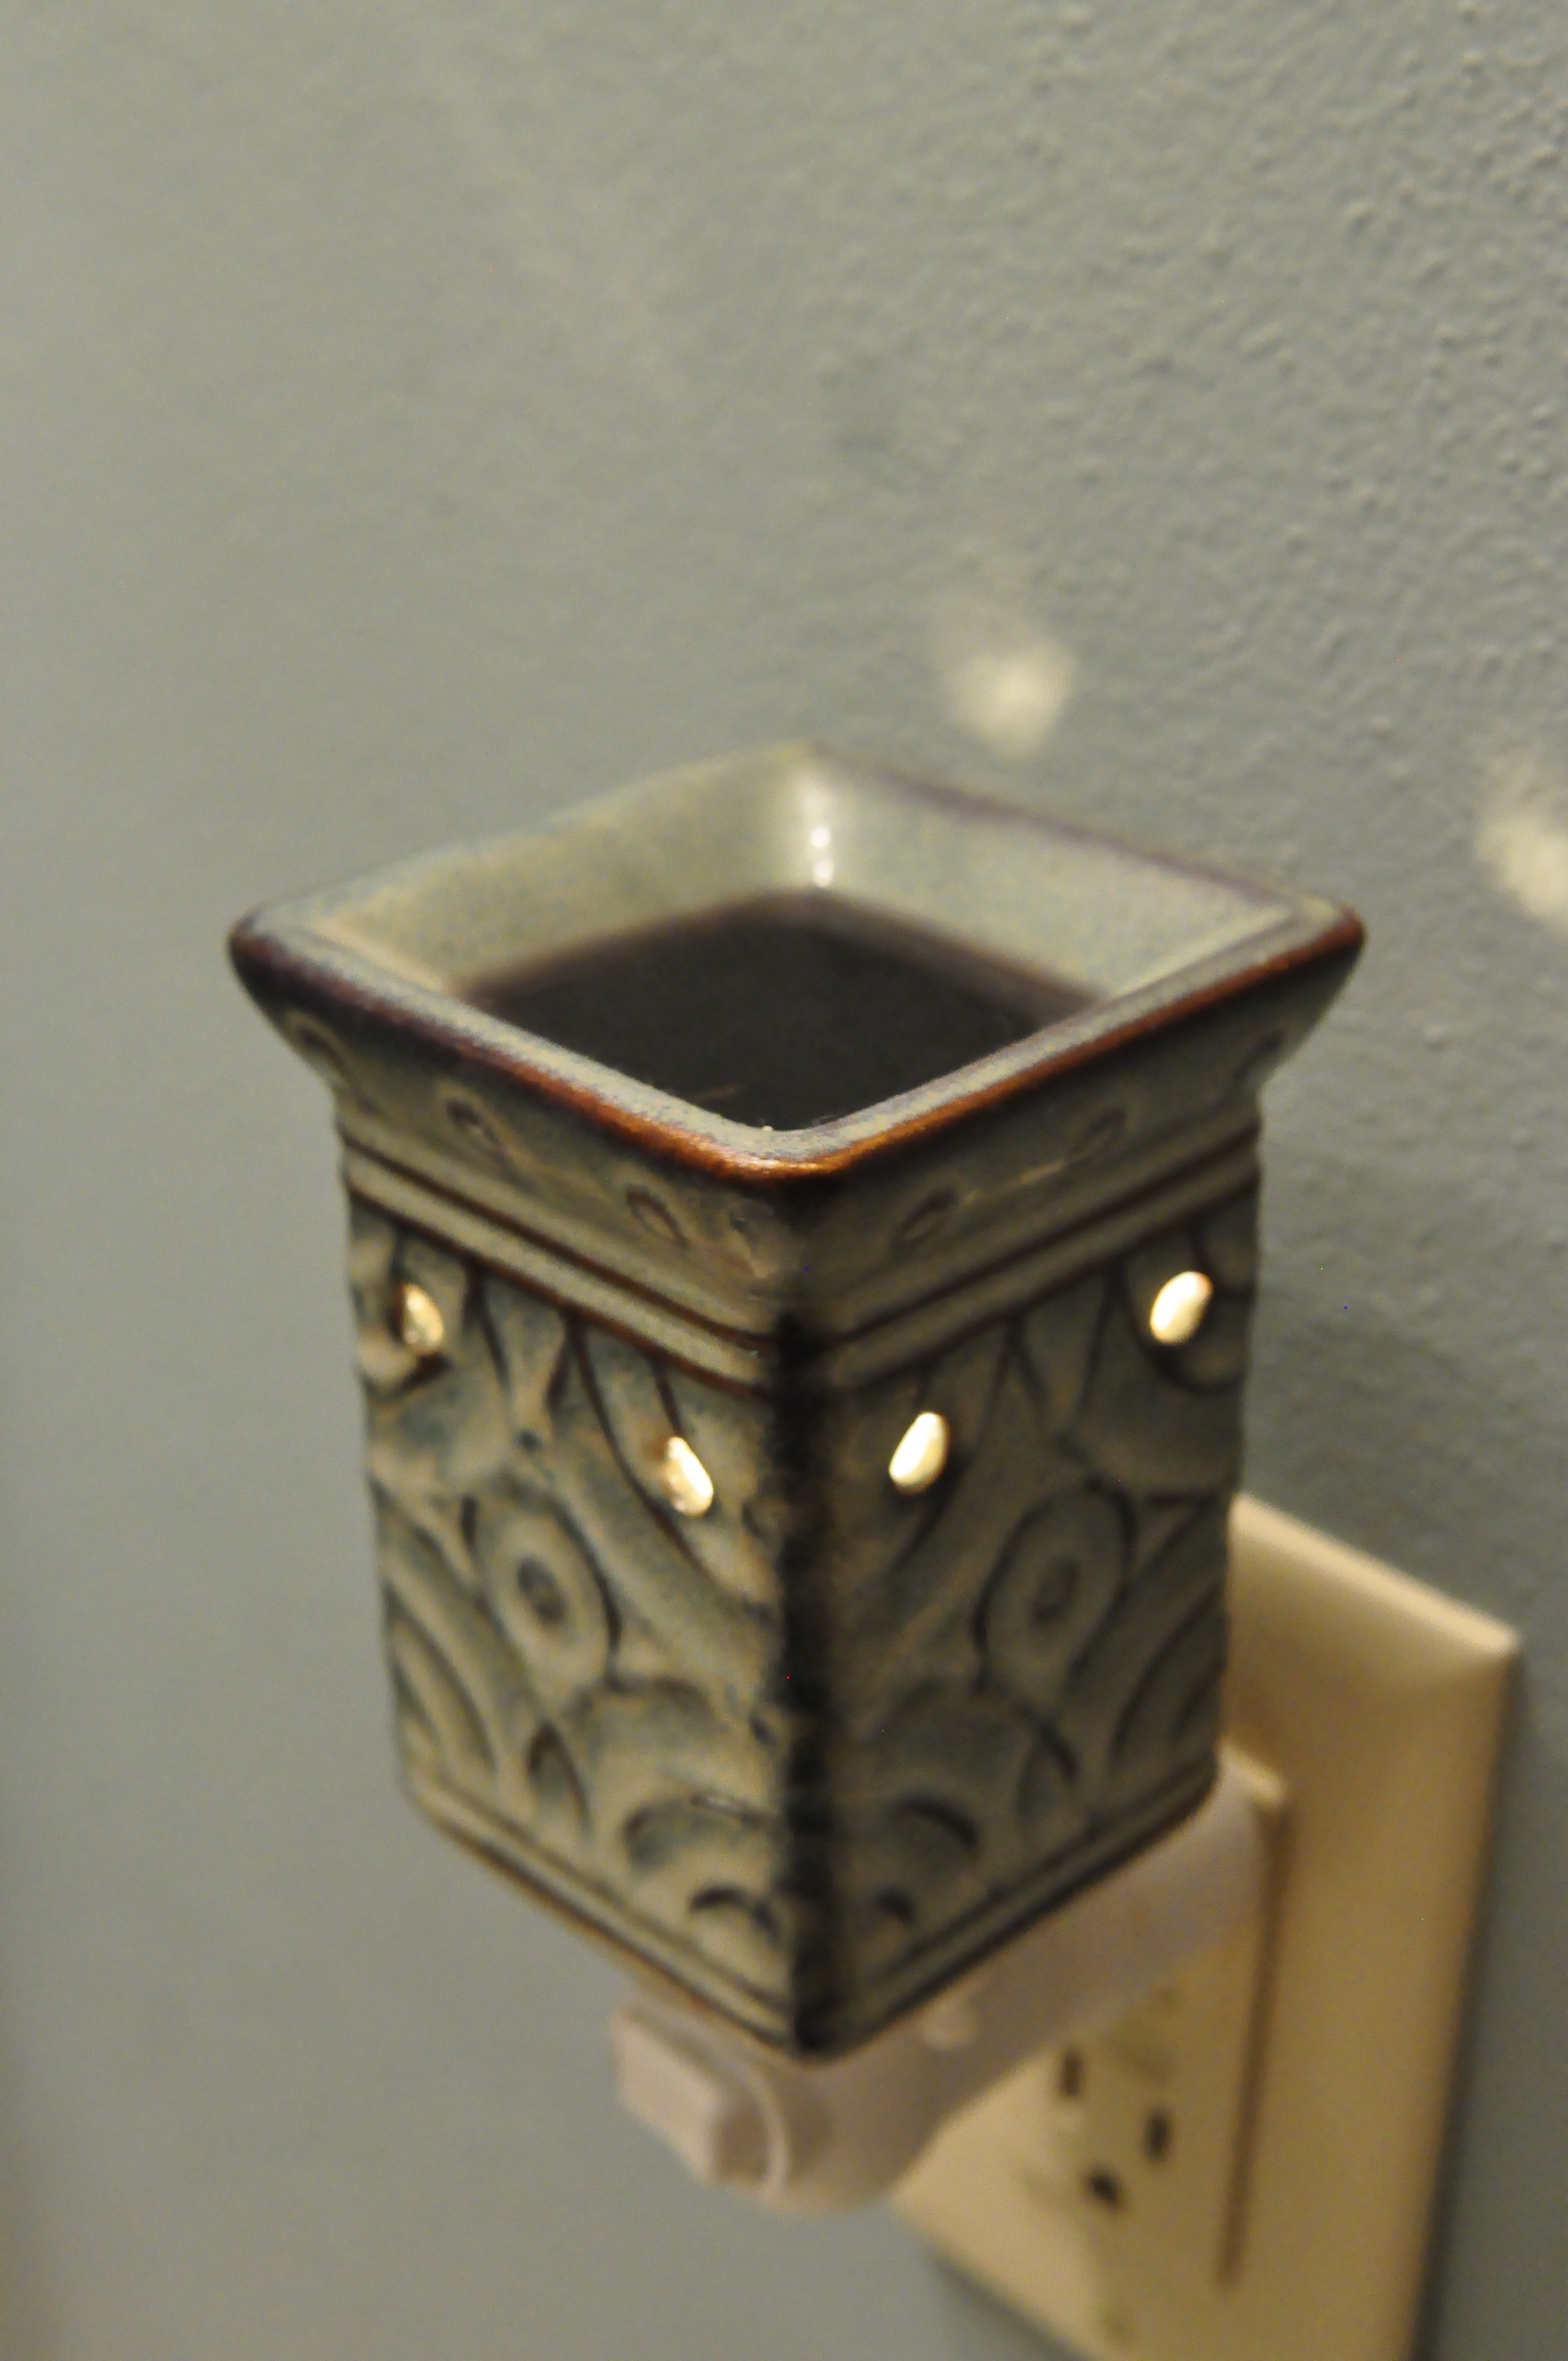
Growing up, I learned a good smelling home is a “happy” home. So it’s no wonder I am addicted to Scentsy pots.
These trinkets are scattered around my home, on each level.
When you walk thru my door, you’ll be hit with the smell of baking on the upper level and something a little more fruity in the basement.
I am driven by my senses. Having a “happy” home with kids and working 24-7 inside 4 walls ~ it’s the little things that keep me sane.
I am constantly changing out the wax cubes to keep the aroma going.
Before I learned this life-hack on how to change the wax– I would get wax everywhere!
This would cause frustration and a rather large waxy mess.
I would love to share with you my little secret. It has made my Scentsy pot clean up a SNAP!
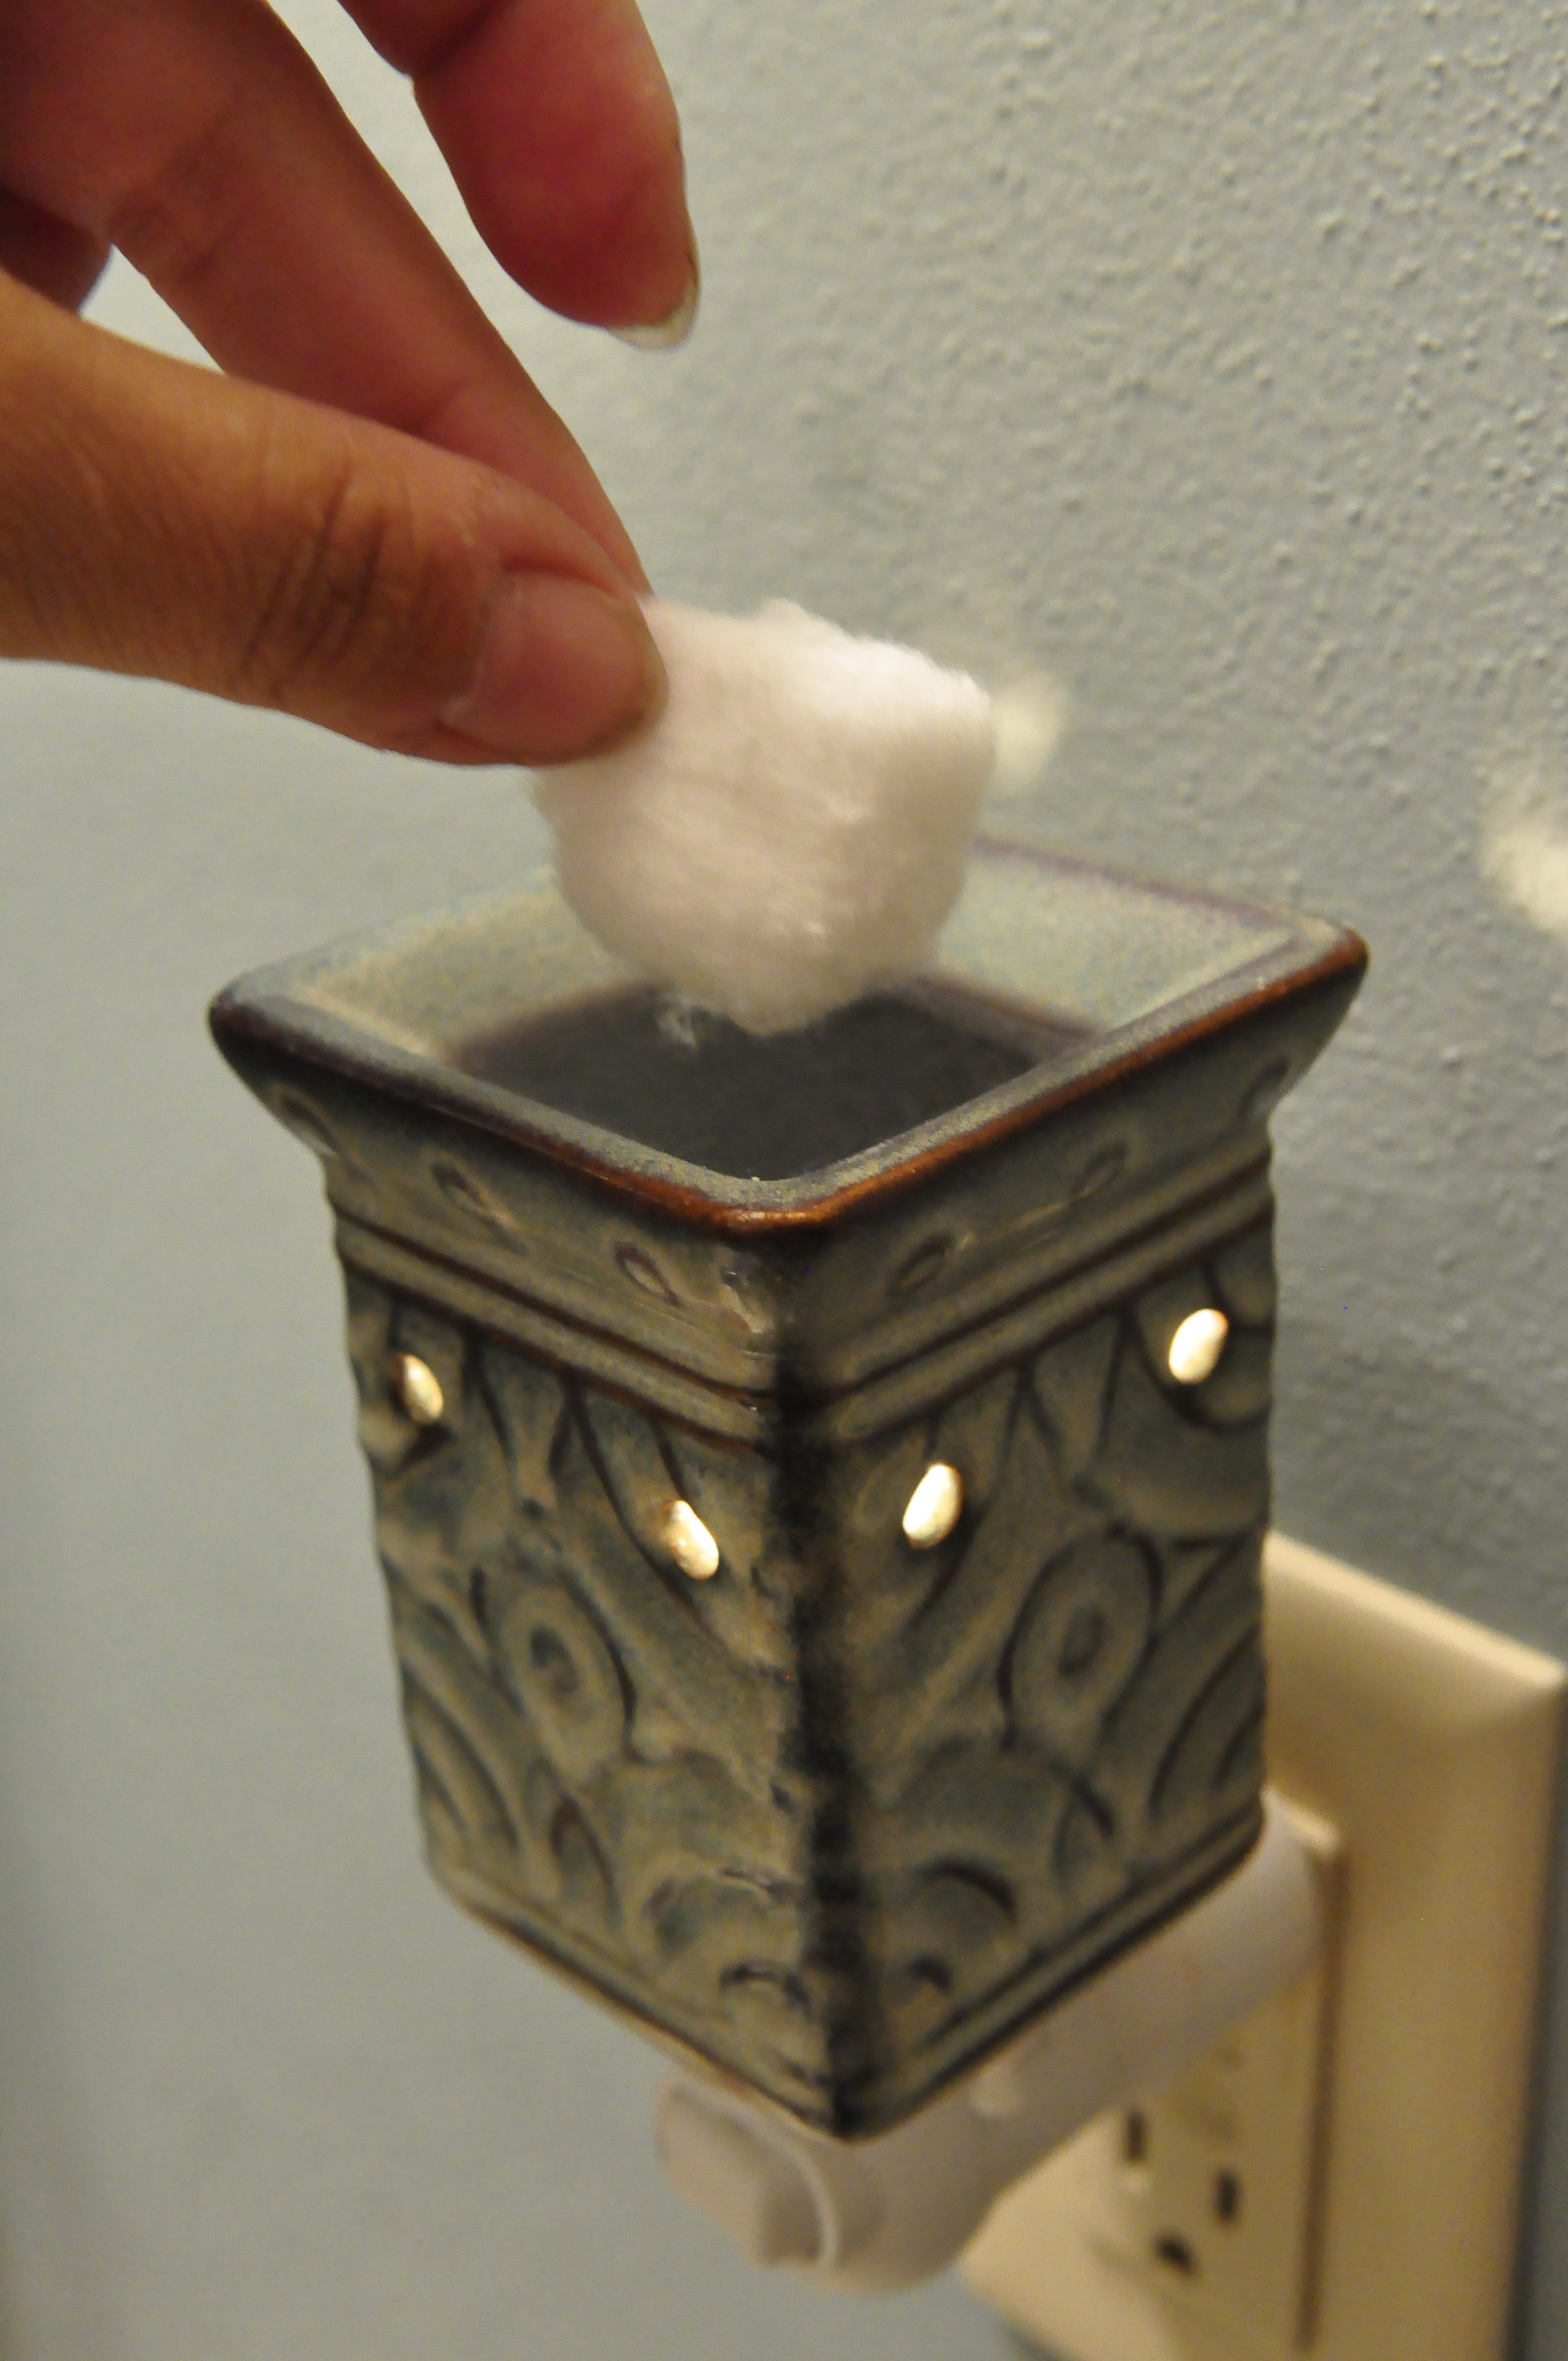
Step 1. Be sure your wax is good & warm. If it’s been on for a few hours/days all the better!
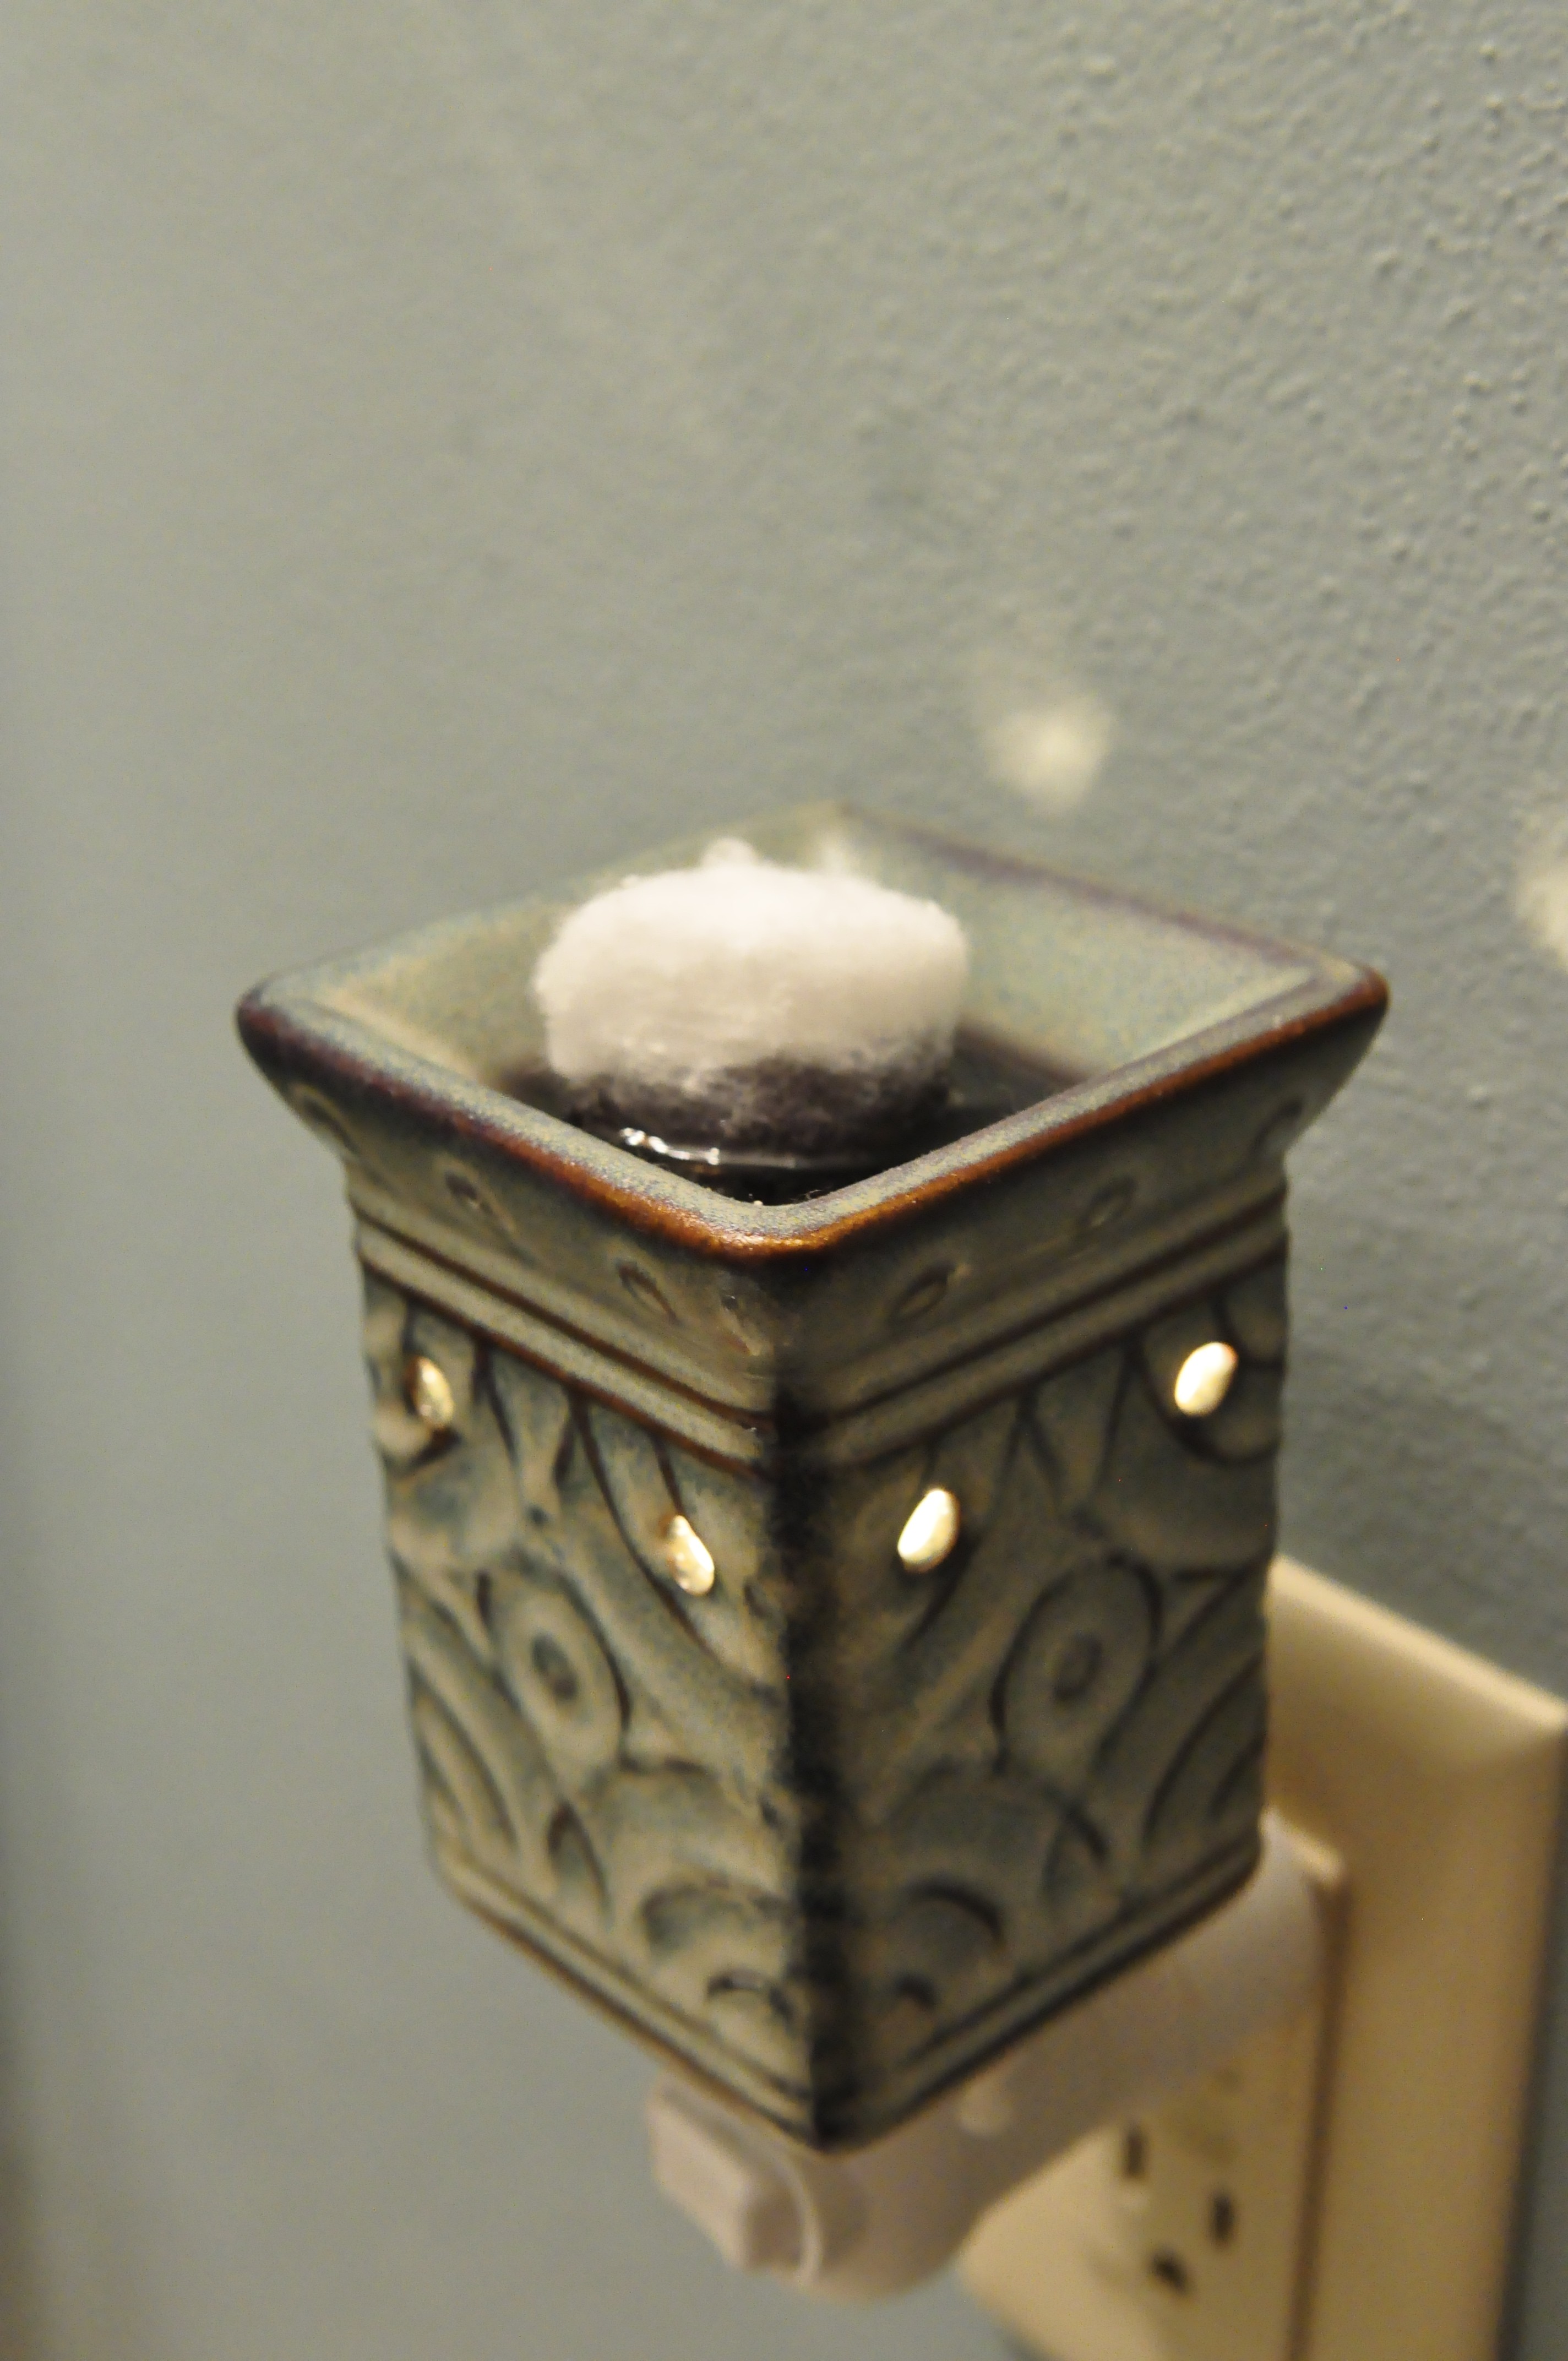
Step 2. Place a cotton Ball in the warm wax. Let the cotton absorb the warm wax. Turn it over and fill that cotton ball up.
The smaller warmers may only need 1-2 cotton balls. The larger warms take more. I keep a steady supply on hand when changing the wax.
I use a final cotton ball to wipe the melting pot clean.
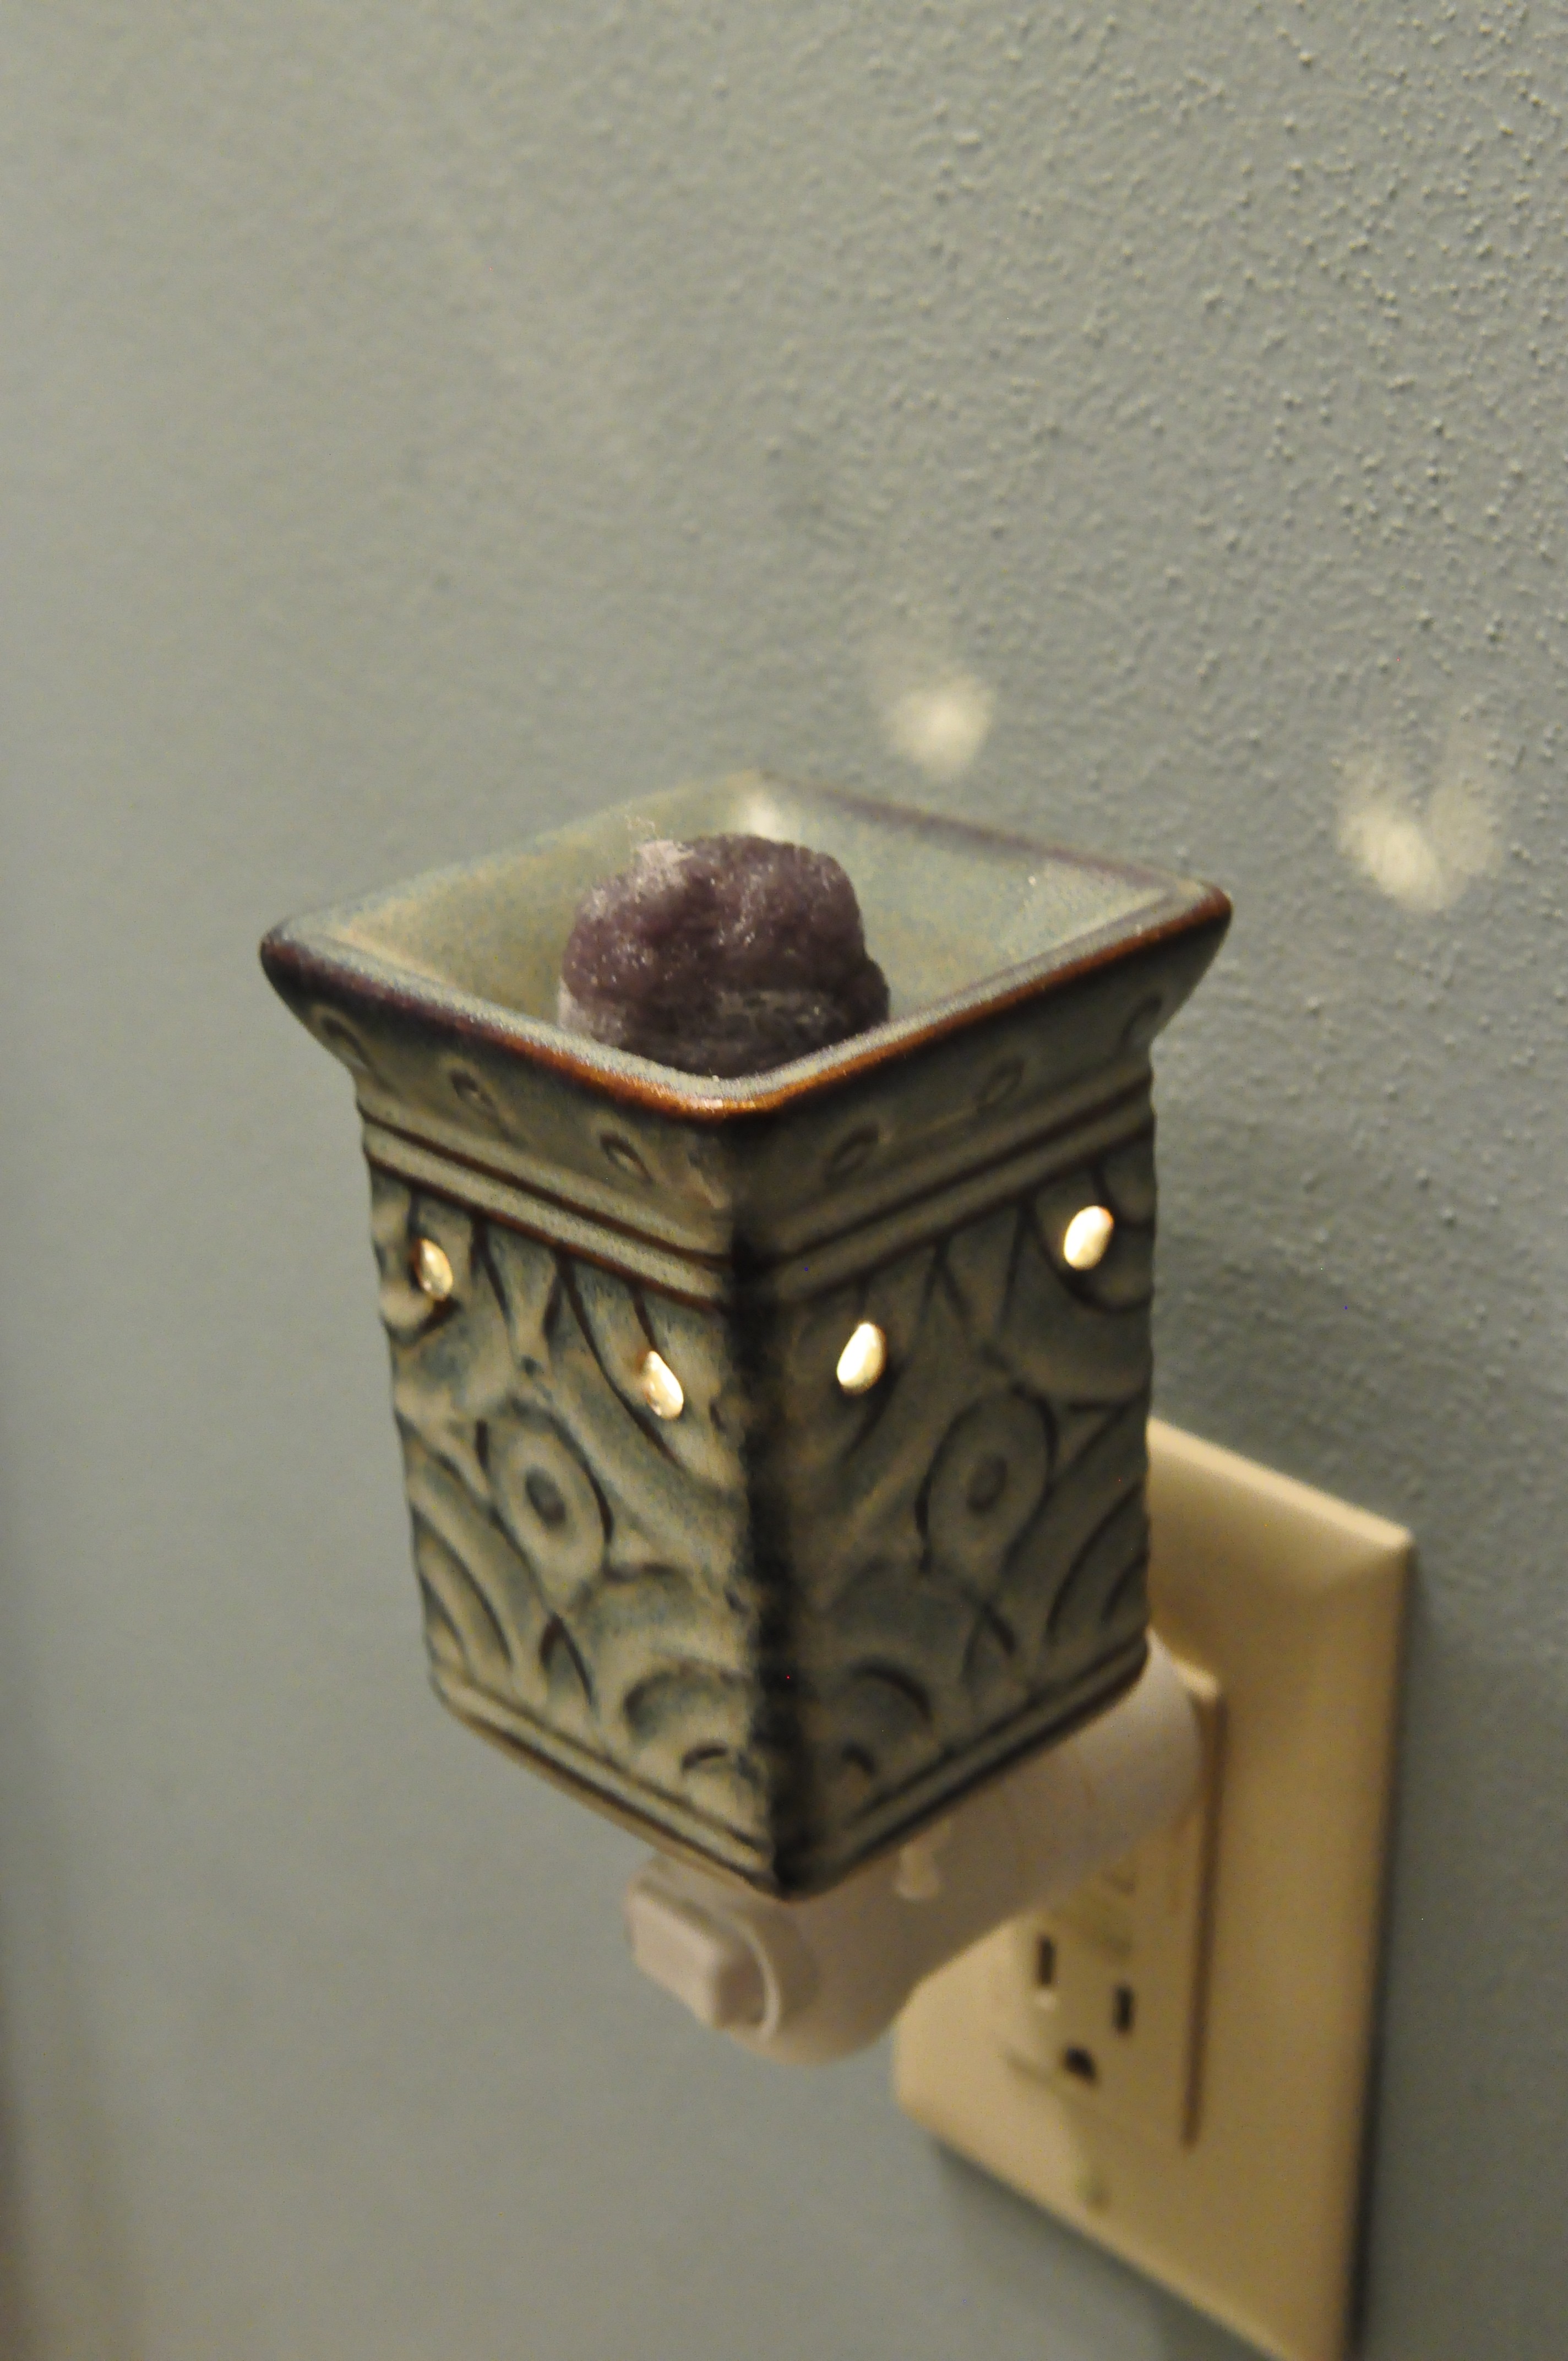


Step 3. What to do with those cotton balls?? You may throw these away.
As an avid reduce/reuse/recycle gal– I like to make fire starters.
These are great!! Plus they make starting your campfire smell delicious.
You will need a cardboard egg carton.
Insert 1-2 wax covered cotton balls into each slot.
The wax will get hard in a few short minutes.
Cut apart the sections
To use as a fire starter, light the 4 cardboard corners with a lighter. {use caution please}
Insert near the kindling or wood of your soon to be fire & WALLAH!


I sure hope this life-hack can ease a little frustration. Scentsy pots really to make perfect sense.
PS. no I do not sell these– I just enjoy them.
Cheers!
~B