Luxurious Wedding Albums
You are planning a wedding.
You’ve hired your vendors.
The big day arrives. It’s absolutely AMAZING ~ imperfectly perfect!!
A few weeks go by as your continue life blissfully married.
Flash backs of your wedding day are rehashed through stories and memories shared between family & friends.
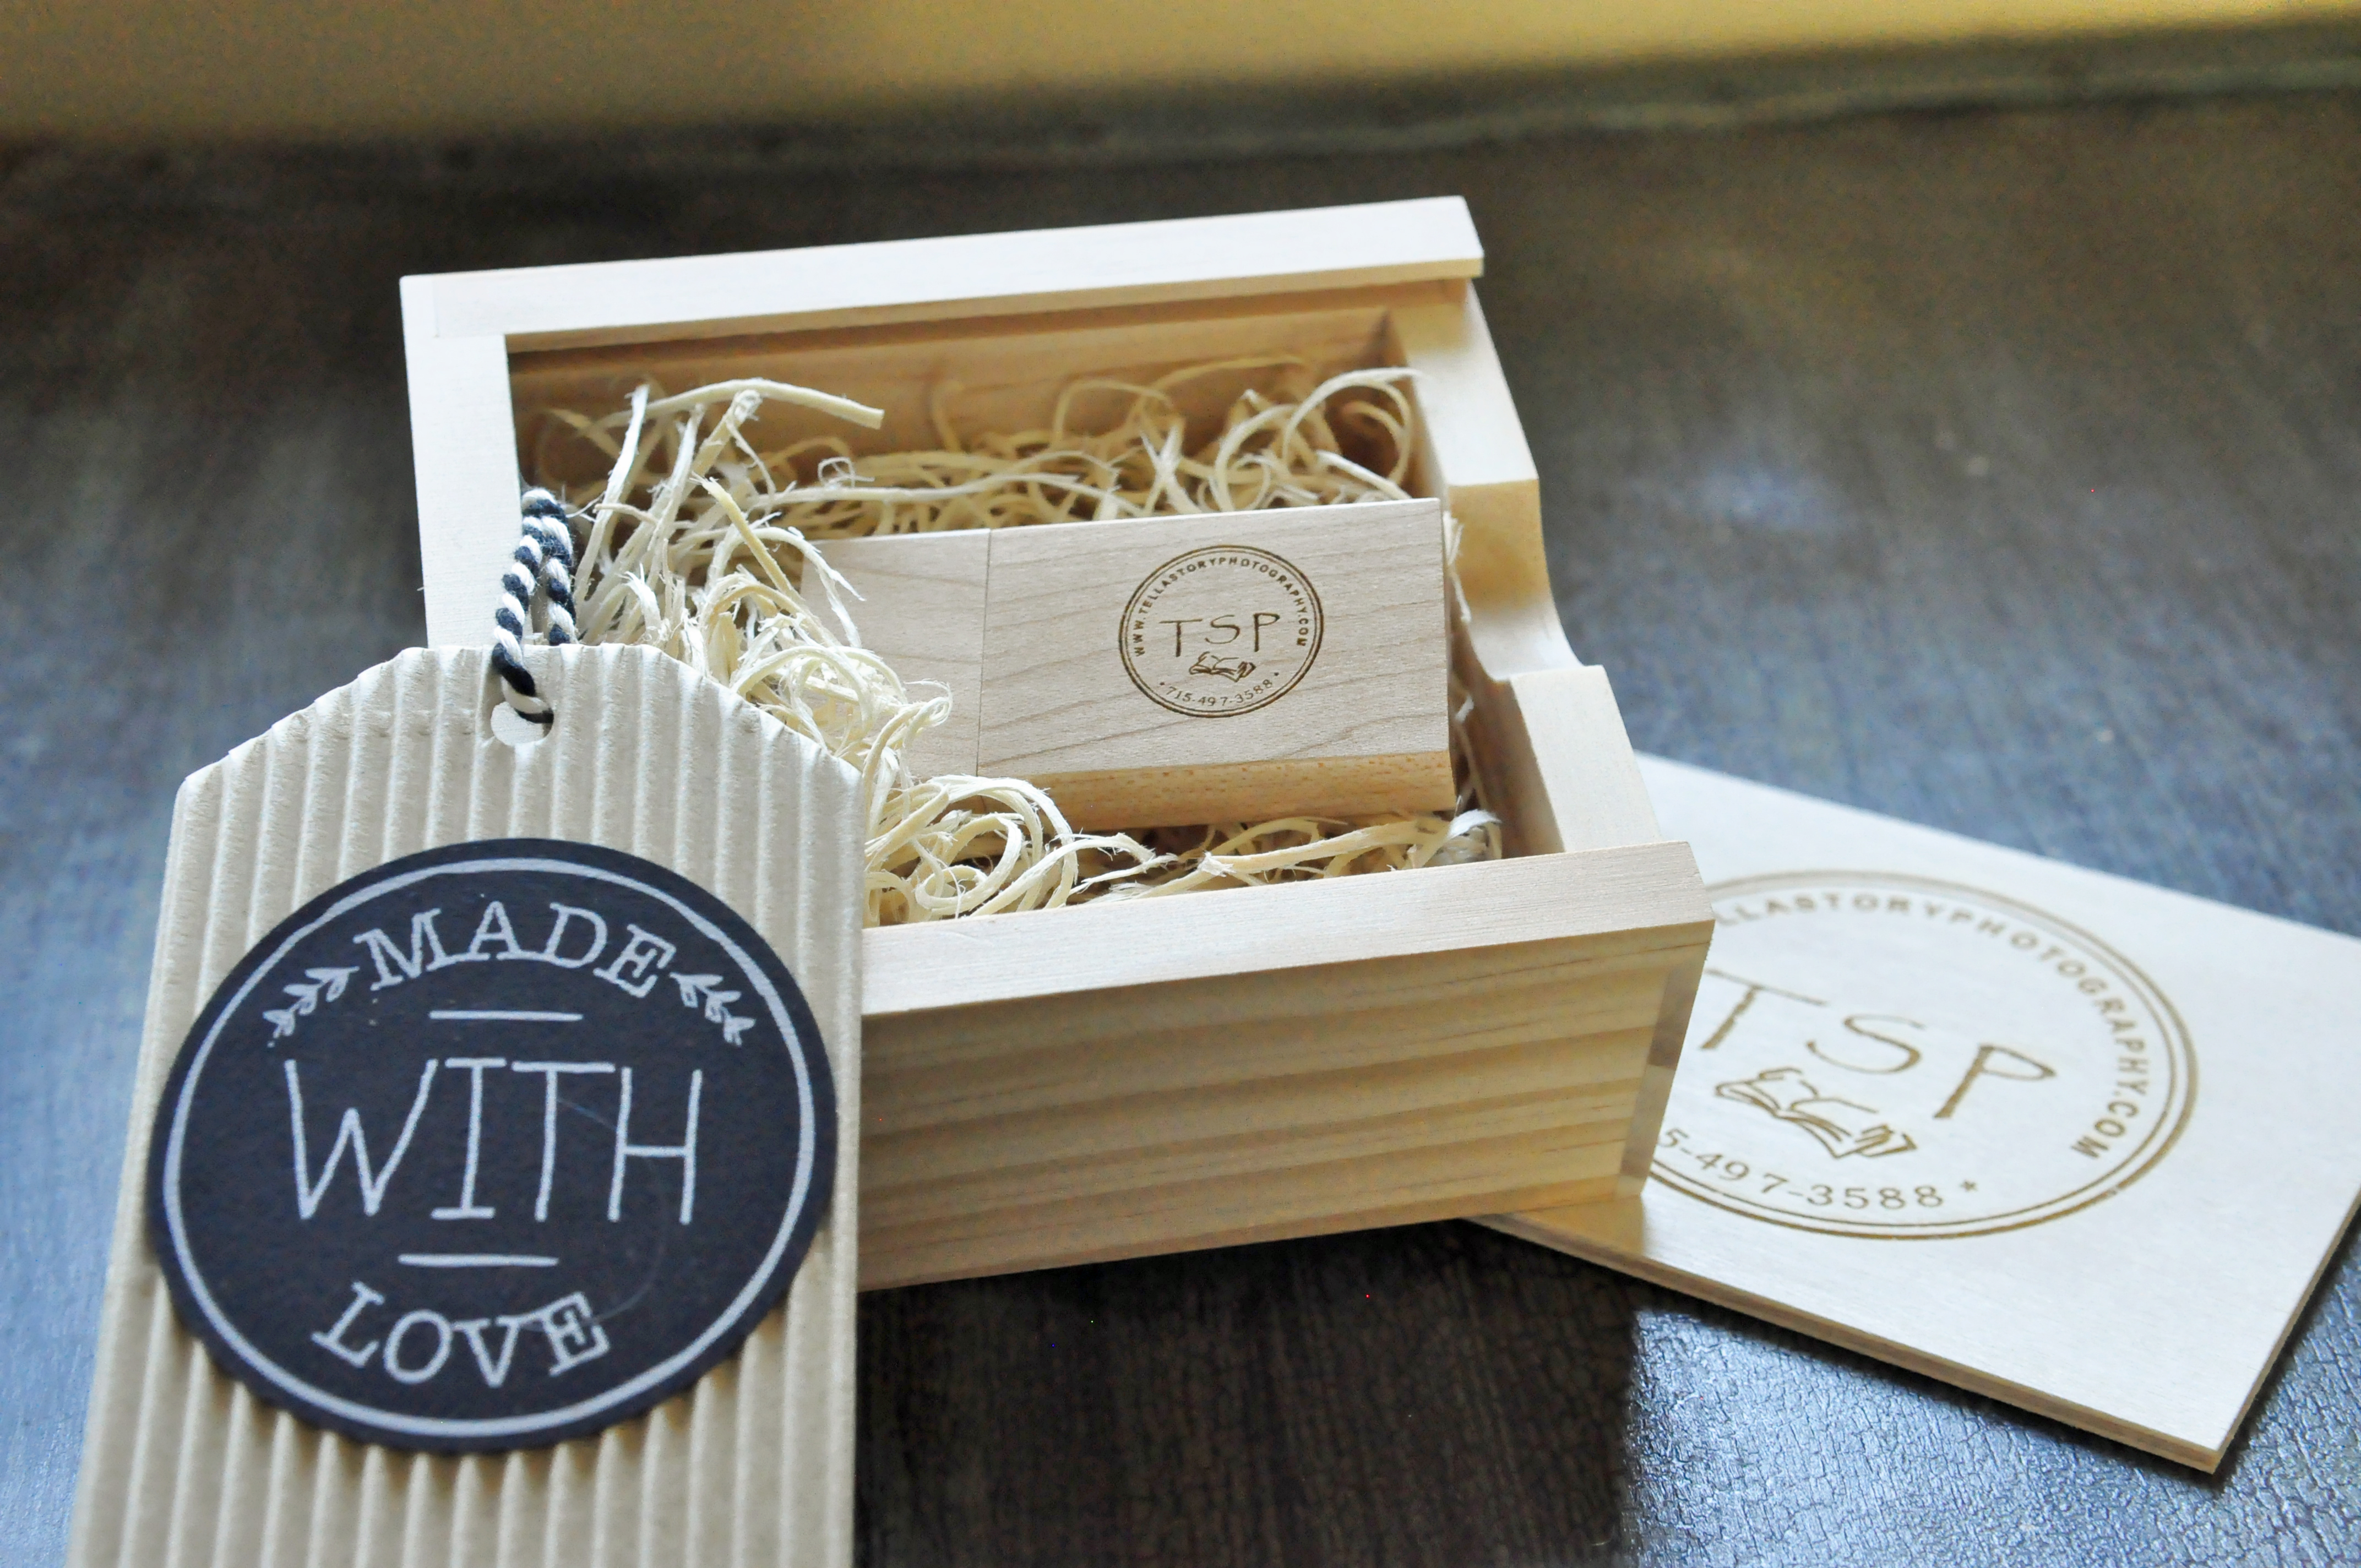
You receive your Images on a flash drive from your professional photographer.
L.O.V.E. all over again!!! Memories have come alive with the images on your computer screen.
You experience “things” that you didn’t notice on your wedding day. (it pays to hire a professional)
Imperfectly Perfect. Life is good.
Turn the computer off, and back to life. Back to living in the present reality.
Work, sleep, work sleep Eat. Not necessarily in that order ~ you catch my drift?
Days go by. Your wedding photo’s are sitting in a dark file on your computer.
You may wish to check them out ~ if time allows in your busy schedule.
It may be a year before you realize it’s your anniversary and time to relive that very special day.
Turn on the computer “Ooooo” and “Aawwww” – Love all over again. Your memories have come to life once again.
~~~~~~~~~~~~~~~~~~~~~~~~WAIT A MINUTE~~~~~~~~~~~~~~~~~~~~~~~~~~~~~~
I have a better Idea. Don’t keep your memories stuck on a computer.
My lesson was learned 3 years ago the hard way. when my computer crashed.
ALL — yes ALL my files wiped clean. 2TB of files Gone. Kaput. Missing. No more memories.
Don’t let this happen to you —
It is my “job” to educate you on why prints and albums are so important. Technology fails.
Did our parents have their wedding photo’s stuck on a flash drive or computer somewhere?
If that was the case- I’m sure our recent technology would no longer retrieve this information and their “memories” would be long gone by now.
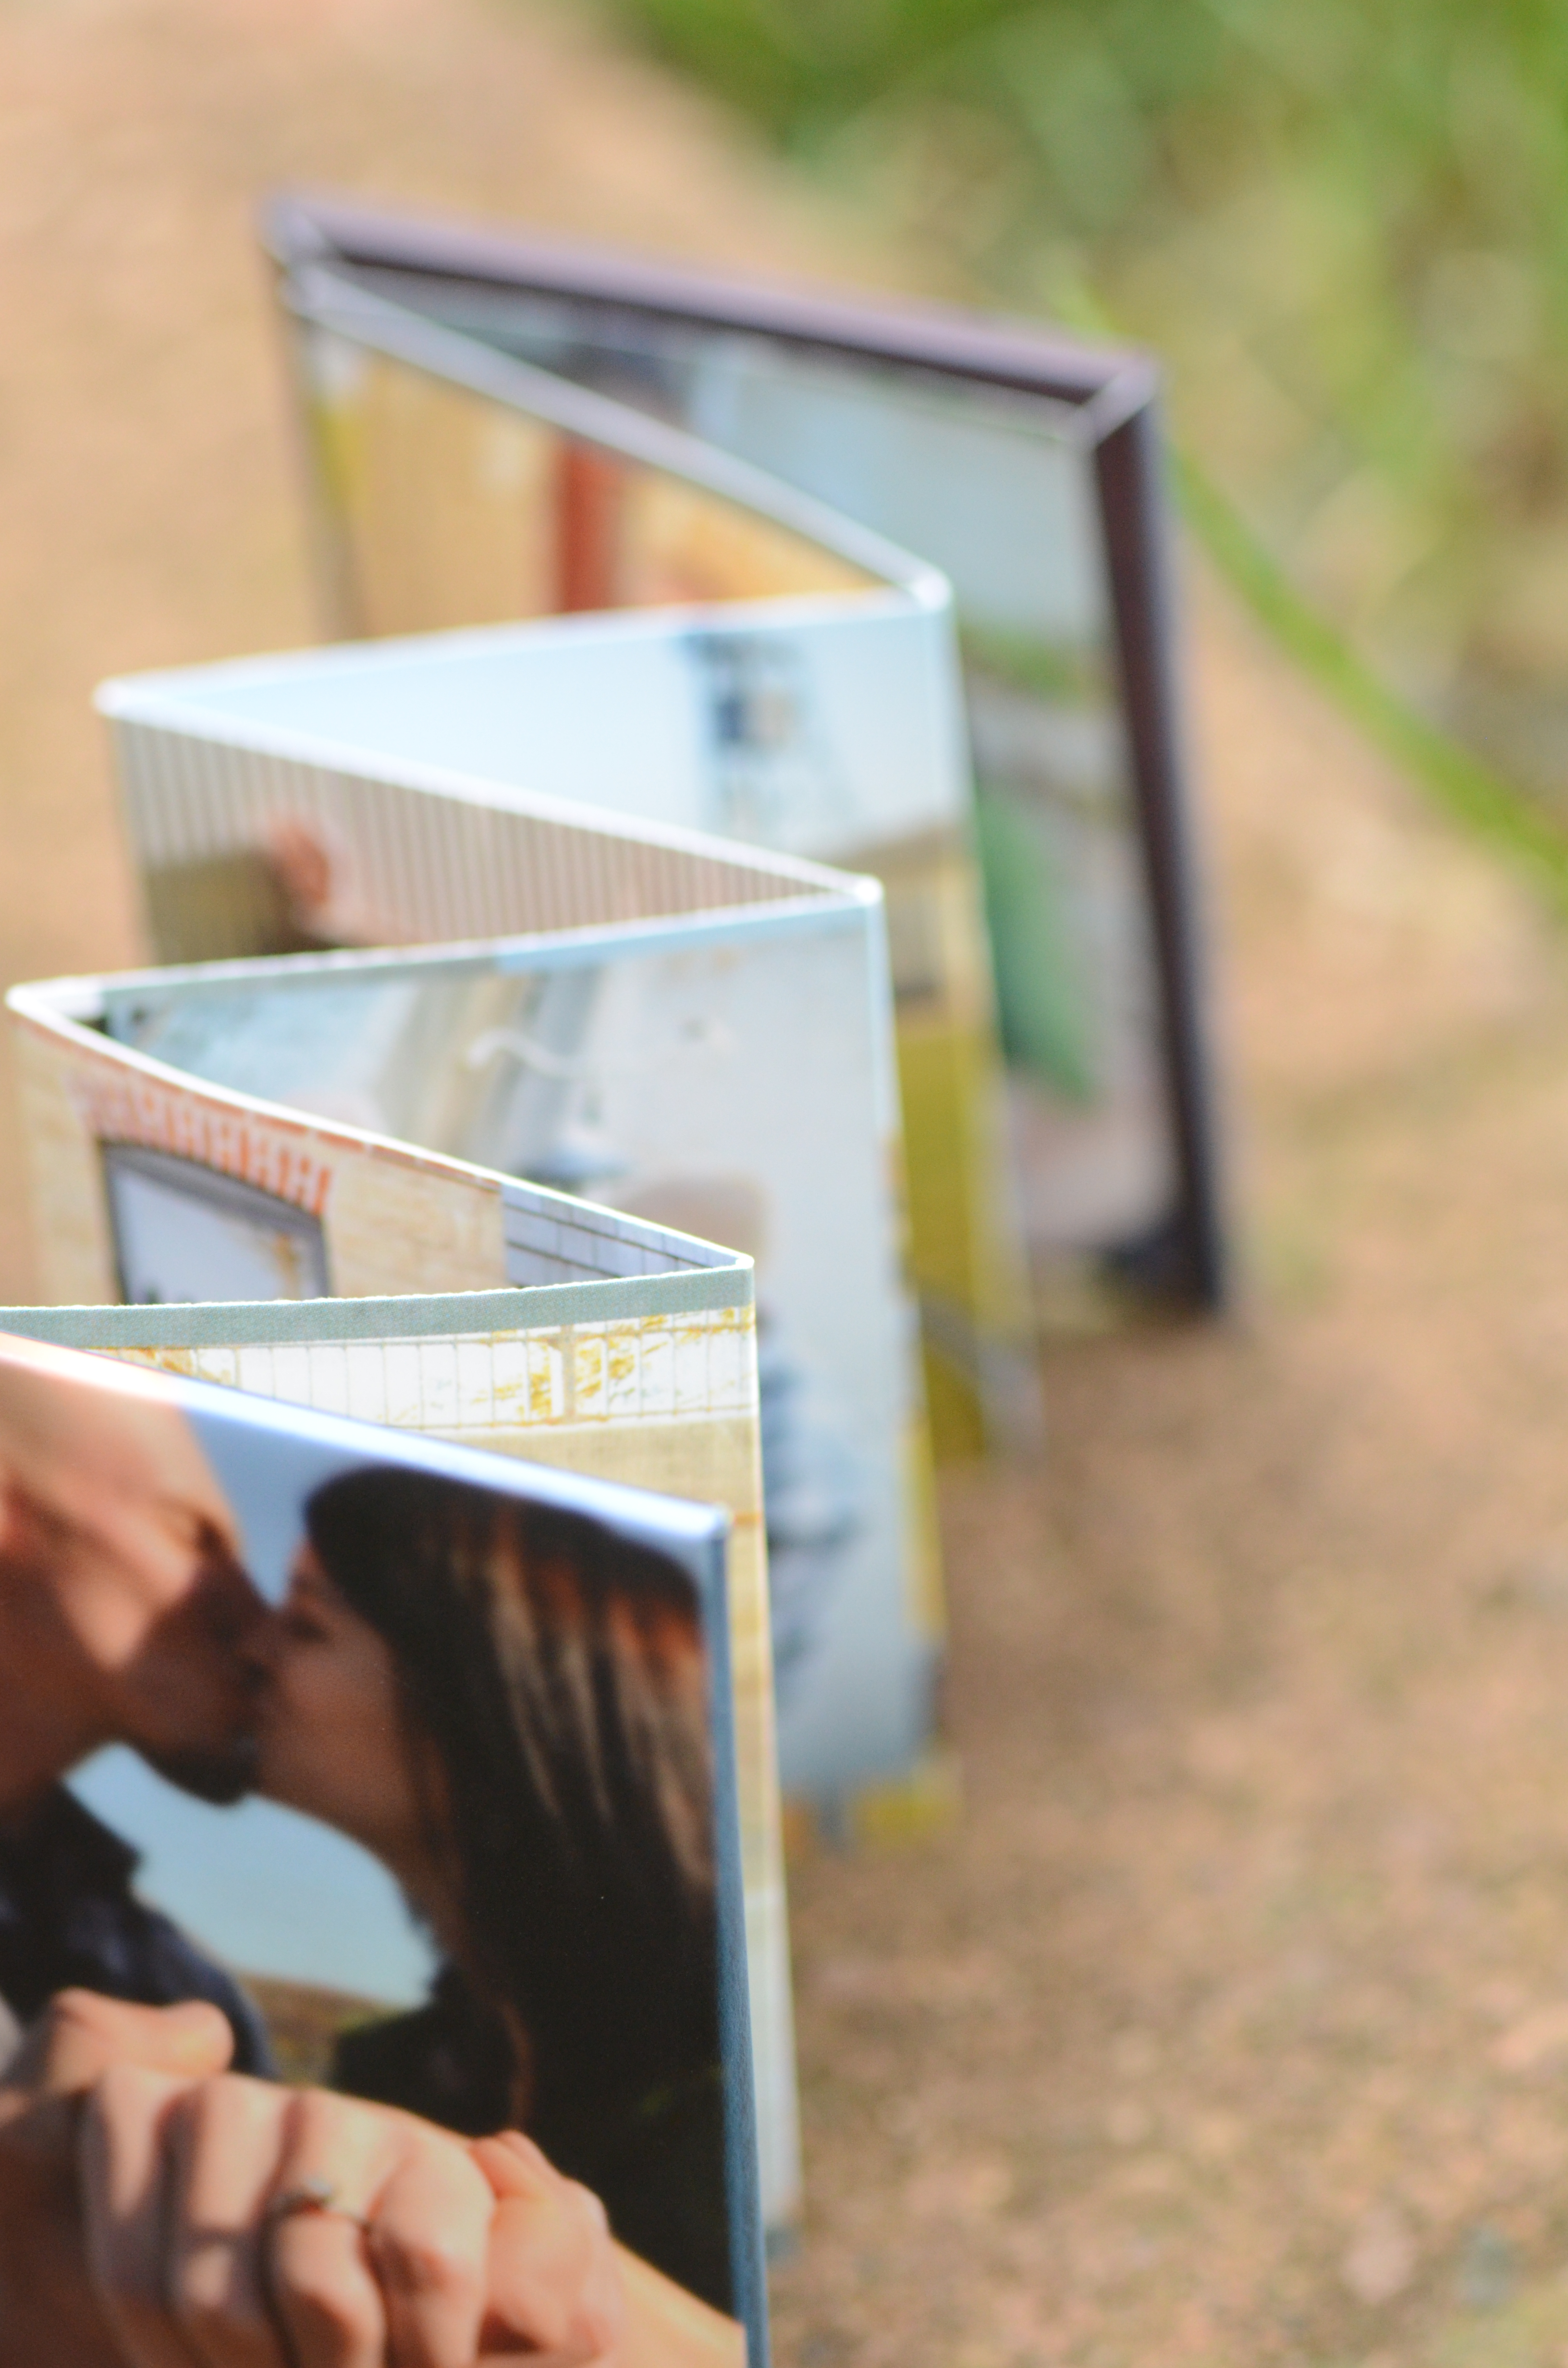
I encourage my clients to get something tangible, a storybook that allows your memories to come to life each time you open the cover or look at that Wall art.
A keepsake album you can pull out and look at whenever your heart needs a reminder of the wonderful memories made on a day filled with love and excitement.
There are so many styles to choose from when creating a specialized storybook.
My favorite album is timeless. Printed in a castle located in Italy! (nostalgic!!)
These albums are amazing in every way. Sometime you’ve got to see for yourself to believe.
I can preach to the choir, and babble until my face turns blue ~ instead I’ll show you a few pictures of these heirloom wedding albums.
Please note** pictures do not do justice for the quality and craftsmanship held within the binding.


Contact me if you are in the market for a wedding photographer ~ Let’s chat! We can meet for coffee or dinner ~ I’d love to show you in-person the products I’m talking about. We will casually chat about your wedding plans and I will help you decide exactly what you need from your photographer to get the best coverage.
Your wedding day is special, and should be treated as such.
Get the full service from your wedding vendors- you don’t go to a car wash and expect to have 1/2 your car cleaned.
Just as you don’t go grocery shopping to purchase 1/2 of an apple. Get the FULL service you deserve.
The 2016 Calendar is nearly full – with a few select dates still available. Now booking 2017 Weddings- Reserve your date today!